
Understand the Glue
There are literally hundreds of different types of glue on the market such as water based (PVA) and polyurethane glues for woodworking, epoxy glues for composite work and a host of others including contact cement and cyanoacrylates (like KrazyGlue ®). There are 3 glues commonly used for making skateboards and this list is to help you choose the right glue for your production needs. How much clamping pressure, how to apply glue, and how much glue is also discussed here.
Water-based PVA
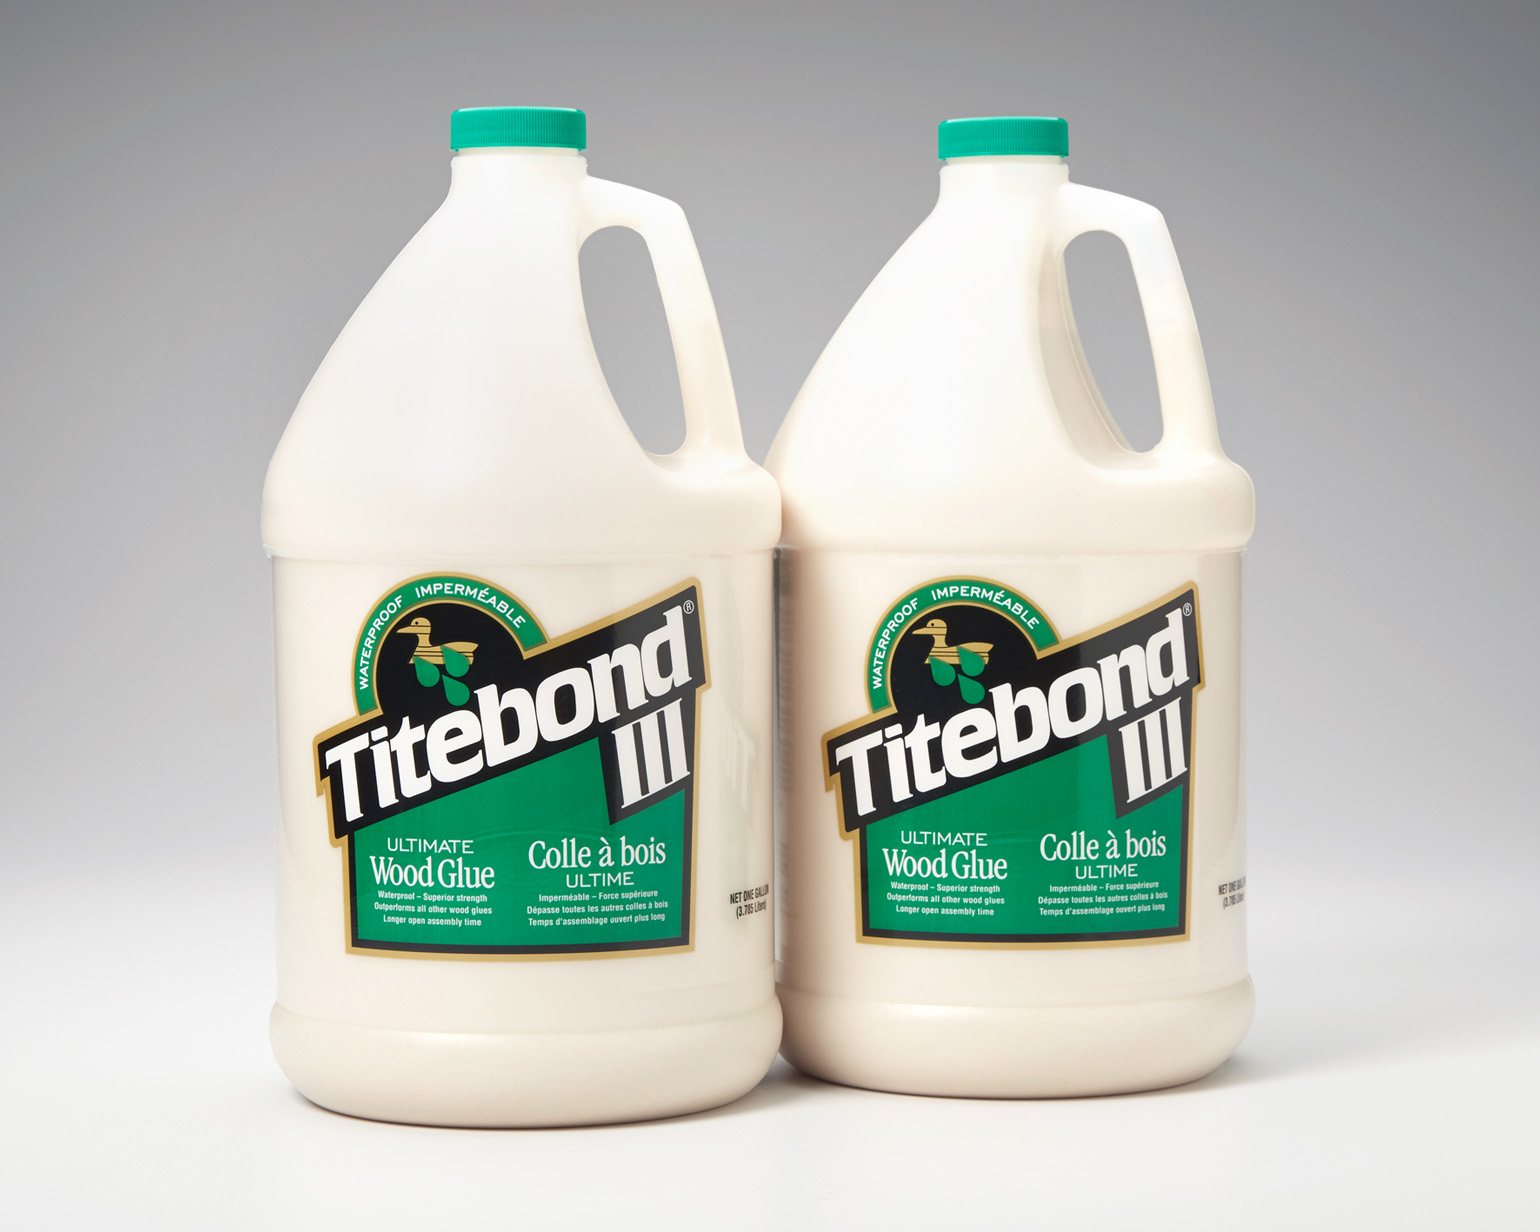
Titebond III, made by Franklin, is the best glue that I have found for small production board builders.
Titebond III has a longer wet time than with most woodworking glues, nine minutes as opposed to four or five. This gives you the much needed working time to get all the layers glued before it starts to set.
Titebond III is also waterproof and has a flexible glue line when dry, both very important to board building.
Another great thing about Titebond III is that it can be purchased locally (it is sometimes difficult to find in Canada, especially in the gallon jugs). In the USA it can be purchased at most big box building stores as well as woodworking tool suppliers at a reasonable price if you shop around. We found it at a Lowe’s in Maui for $23.96, that’s cheaper than we can buy it wholesale in Canada!

MultiBond SK8
If you are into production but not a factory, Franklin sells a glue called MultiBond SK8. It is intended for small to medium manufacturing. This glue has a shelf life of only 3 months and will start to gel if not used. It is only sold in 5 gallon pails so make sure you are going to use it immediately after purchasing. This is a great glue for anyone producing an ongoing supply of boards to an established client base.
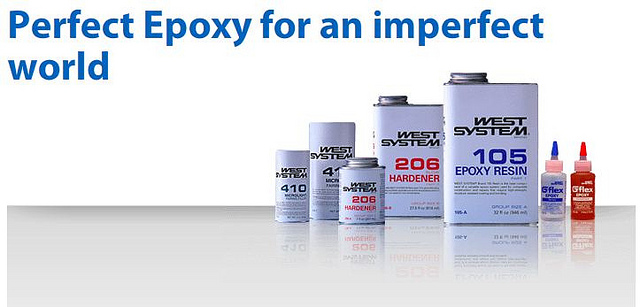
Epoxy
Some epoxies are formulated specifically for laminating wood. One of the drawbacks of epoxy for independent builders is that it is more expensive than off-the-shelf water-based glues. There are however applications where it works very well but you have to weigh in the expense factor. Epoxy will produce a stiffer laminate and not swell the wood like water-based glues will. Depending on the catalyst you choose, epoxy will have a longer wet time than water-based glues. Another drawback with epoxy is that the roller becomes a throwaway as it cannot be reused like with water-based glue layups. Epoxy should be used in a well ventilated area, rubber gloves and a canister type respirator should be used at all times.
Roarockit does not supply epoxy, do a search for a supplier near you. Best sources are marine suppliers and composite-supply companies.
Why do glue manufacturers ask for 250 psi?
Vacuum bagging uses relatively low pressure to clamp veneers into shape. This amount of pressure is much less than the glue manufacturers listed clamp pressure. Manufacturers say they need a minimum of 175 – 250 psi to press hardwoods, so why do the boards built using our process work? To give a little insight into why vacuum bagging works here is a letter from Dale Zimmerman, a Franklin technical expert:
“The actual pressure required on any given bond is really a combination of the pressure required to pull the layers of wood together and the pressure required to squeeze out the excess glue. When working with something like a thin veneer, the wood offers almost no resistance, and the pressure applied only needs to squeeze out the excess glue. While vacuum pressure is, indeed, quite modest, it is usually sufficient to create a thin enough layer of glue and a bond good enough to resist any stress which may ultimately develop in the veneer. (That is, where it is the veneer which is doing the deforming rather than the substrate.)
As the stock being glued increases in thickness, more and more pressure is required to assure that the pieces are pulled tightly together despite any modest imperfections in fit which may exist. Thus, the portion of the recommended pressure needed to deal with the wood itself is really a reflection of the thickness or stiffness of the wood and the lack of fit of the assembly. In a real sense, that means that bonds made with well fitted pieces of thin hardwoods do not need 200 psi, and may be just as good if only 50 psi or 100 psi is applied. On the other hand, it must be apparent that bonding two pieces of inch thick maple or oak which are not machined to fit precisely will be unsuccessful unless enough pressure is applied to bend them into position.”
What's the best way to apply glue?
This is a frequently asked question and the answer depends on the process, size and number of layers in a board.
Glue Rollers
If you are making a custom board using rectangles of veneer I highly recommend using a thin-nap roller (on the left) for all builds. The thicker the nap, the more glue it absorbs, which you don’t want. The size (length) of the roller will depend on the size of your board and how many boards you will be making.
If you are just making one board I recommend a 3″ long thin-nap roller. The smaller (shorter) the roller, the less glue it takes to charge it. Glue is expensive and it is easy to waste.


If you are making multiple boards over a long period of time a 12″ long thin napped roller works well. Rollers should not be cleaned after use. Place them in a plastic bag and they will be fully charged for your next pressing. The roller will stay wet for weeks this way (do not freeze).
Depending on the number of layers in your deck you may want to have two rollers on the go. The quicker you can get glue on all the layers and into the vacuum bag, the better.
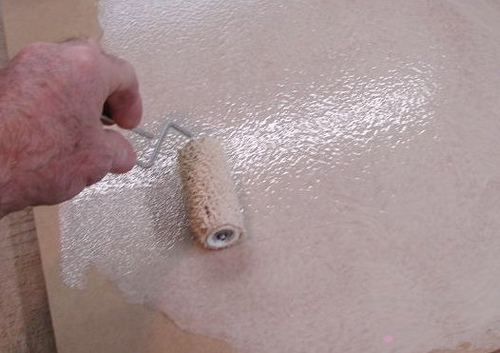
Applying Glue
An even coat of glue is important, especially when using 1/16″ Canadian Maple veneer. Any excess build up of glue in one area will result in bubbling. Bubbling is where excess water from too much glue gets absorbed by the maple and causes rapid expansion in one area. Because of this I recommend not using a squeegee to apply glue.
If you are building a custom board I recommend applying glue onto both mating surfaces. Apply a light coat on one surface, to raise the grain and a heavier coat on the other.
Our pre-made deck kits come with instructions that indicate to only put glue on one of the mating surfaces. When building with these kits please follow the instructions included in your kit.
Make sure there are no dry spots.
Once you have applied the glue immediately stack the two layers on top of one another. This will slow the drying process.
Do not do a glue up in direct sunlight or where there is a breeze from wind or an air conditioner. Both will cause the glue to set prematurely and will cause delamination.
Here is a video showing the proper amount of glue needed for a strong lamination.
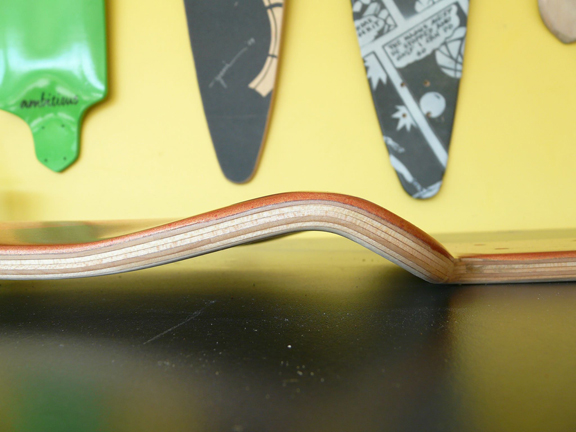
Getting radical bends
Water based glues actually soften the maple veneer. If you want radical bends I recommend always using water-based glue instead of epoxy.
A trick I have learned for making these extreme bends is to lightly wet the outside layers of your veneer stack before placing it into the vacuum bag. This will soften the outer layers and help to prevent the wood from breaking.