In this tutorial we will show you the steps to completing your custom made skateboard deck after it has dried for at least 8 hours in the Thin Air Press vacuum bag.

Letting your board dry for the full 8 hours is very important to help ensure that the veneers keep their shape after being taken out of the bag. If you take them out too soon, you run the risk of having the bends in your veneer start to creep back into a flatter shape than desired.
If you want to see the first steps of how to press your custom deck, check out our previous tutorials here.

You are now ready to release pressure from the bag, take out your freshly laminated deck blank and go on to layout your shape, cut out and finish your board.
Materials Needed:
Masking Tape
Pen or Pencil
Sand Paper
Outdoor Protective Coating
Foam Brush
Tools Needed:
Ruler & Truck Hole Template (or the RockitRuler which is both a straight edge ruler AND truck hole template!)
Jigsaw
Edge Sander
Orbital Sander (or other handheld sanding device
Cordless Drill or Drill Press
3/16" Drill Bit
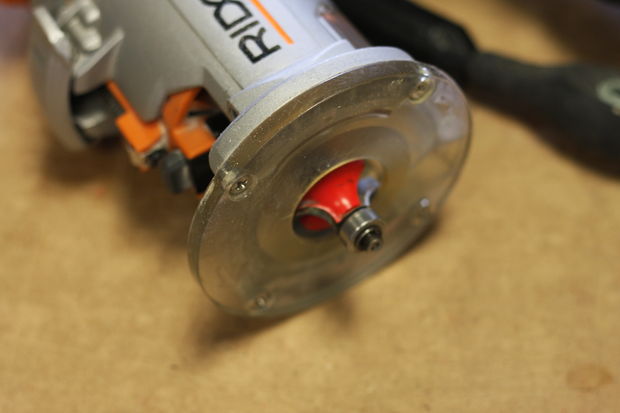
Trim Router with 1/4" Round-over Bit
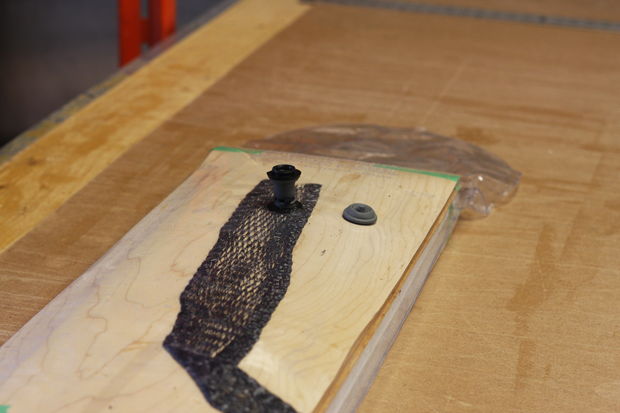
Step 1: Opening the TAP Bag

The first step to getting your deck blank out of the bag is to release the pressure from the bag itself. You can start by taking off the grey valve cap on your TAP bag (please don't lose it) and opening up the sealed end of your bag.
The sealing tape that comes attached to the open end of your bag is the best solution we could find for getting an airtight seal, and still be able to use it for multiple pressings. We have experimented with almost every type of sealing solution, including C-Channels, zipper-style closures, various caulking products and other types of double-sided tape. The black sealing tape we supply with the TAP bag is extremely strong, easy to manipulate and is reusable as long as you keep it clean.
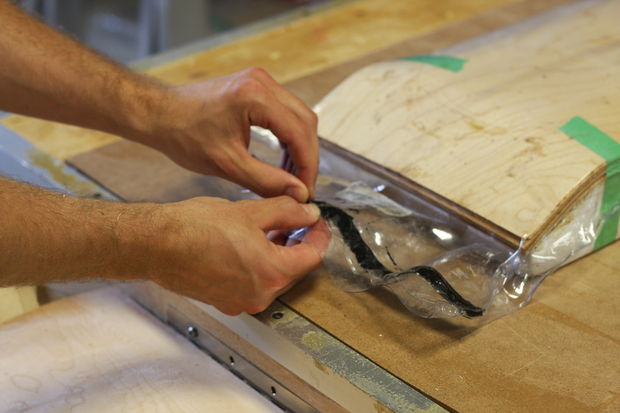
To open the sealed end, you will want to start in the middle of the bag opening. Try your best to keep the sealing tape attached to one side of the bag as you pull it open. Starting in the middle and slowly working your way to the corners of the bag is a great way to prevent the seams of your bag from splitting open.


Once you have the sealed end of the bag open, it is a good idea to replace the brown paper strip onto the exposed sealing tape before taking your project out of the bag. This is a great way to prevent your sealing tape from getting any dust particles on it that will prevent it from sealing properly on your next build.


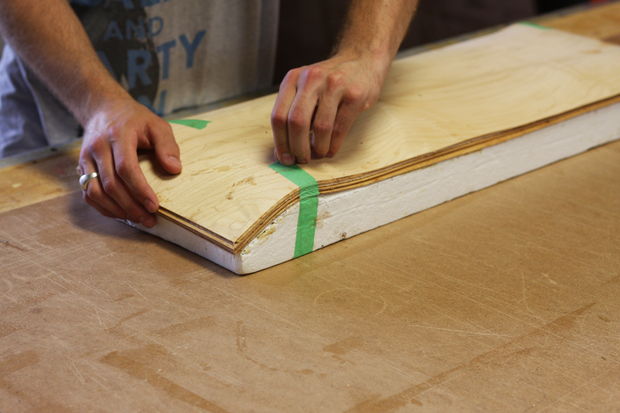
Step 2: Remove Blank Deck from TAP Bag


Now that you have bag open, you can slide your project out of the Thin Air Press. You will most likely need to spend some time loosening the bag from around your project. This will help it slide out nicely without risking damage to the bag.
Before moving on to the next step, you can fold up and safely store your TAP bag together with the hand pump and breather netting.

Once you have the deck blank out of the bag, you can remove the masking tape holding it to the foam mold and take a second to admire your pressing... Ooh lala!

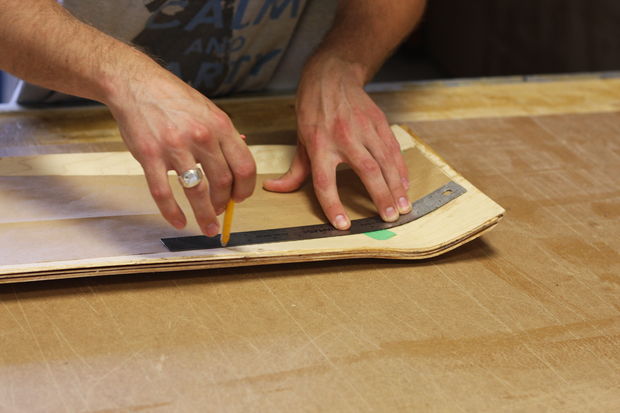
Step 3: Layout the Board Shape
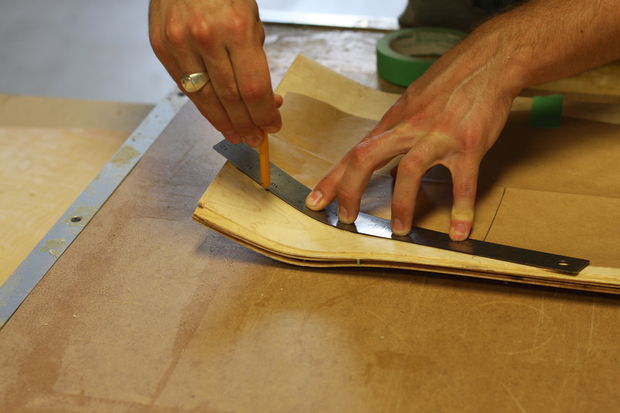
Before you cut out the custom shaped deck, you will want to draw on the outline of your desired final shape. We will be using a paper template that was prepared beforehand to trace the outline to the deck blank.
You can watch our video on How To Make A Paper Template below if you are unsure about how to create one.

Center the template onto the deck blank and secure it with a few small pieces of masking tape. With the template secured, you can use it to trace the outline of your board shape.
Once you have the whole thing traced, remove the template and fill in any spots of the outline that may not have a mark because of the tape.

You are now ready to cut your board out!
NOTE: It is also possible to draw the outline of your shape directly onto the deck blank without a template. The advantage of having a template is that you can use it over and over again to create the same deck.
Step 4: Cut out the Final Board Shape
Using either a jigsaw, band saw or even a router table setup, you can now roughly cut out the final board shape.
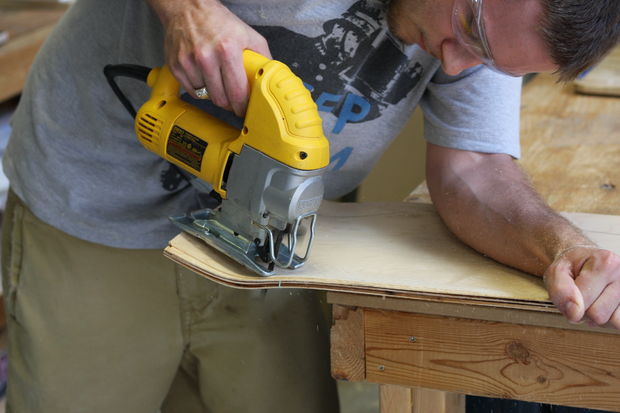
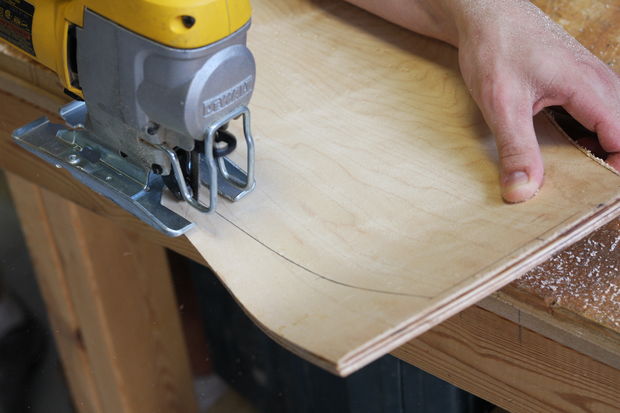
In this tutorial we are using a jigsaw to cut out the shape.
Ideally, you want to cut as close to the outside of the pencil line as possible. This will reduce the amount of work needed to sand the board accurately to your final shape.
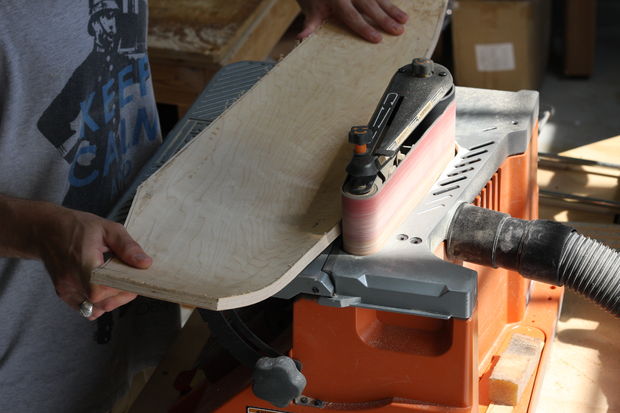
When you are finished cutting out your shape, you can fine-tune any of the rough cuts using the edge sander.
You can also do this step by clamping your board to a stable surface and running a handheld belt sander around the edges.
Once you are satisfied with your final shape, you can move on to drilling your truck holes and adding any desired profile to the sides of your board.
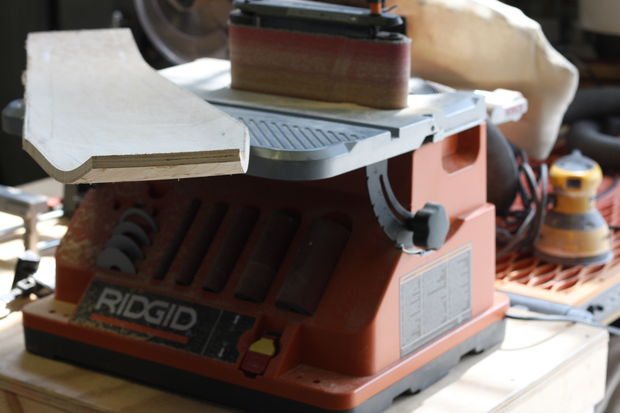

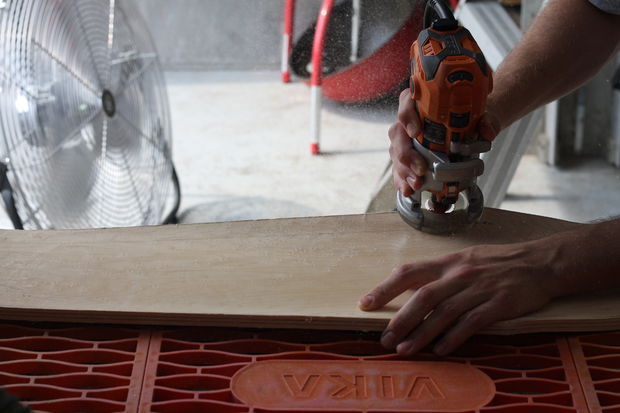
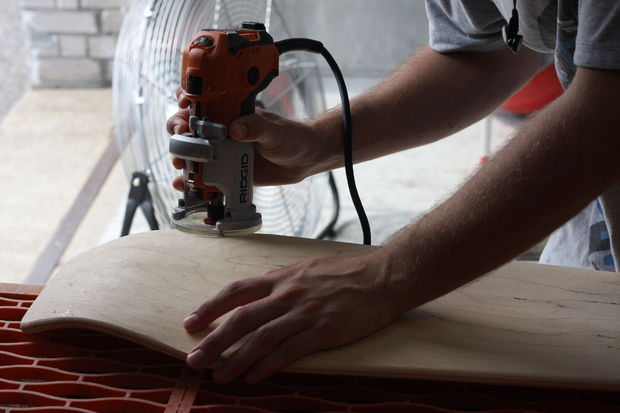
Step 5: Shaping the Edge Profile
For this build we decided to do a full round-over on the top and bottom edges of the board.
We will use a 1/4" round-over bit on both the top and bottom sides of the board to achieve a fully rounded edge.
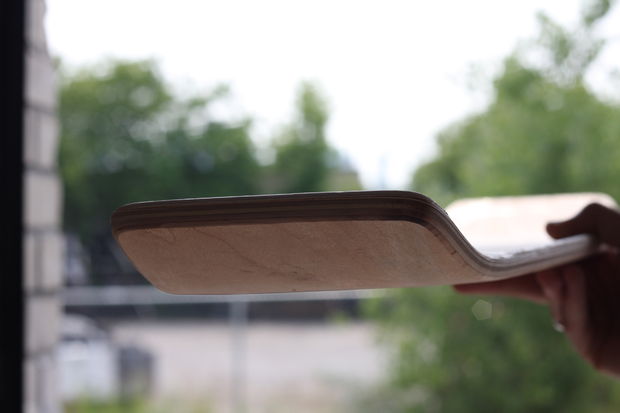
With 7 layers of veneer, this board ends up just under 1/2" in total thickness.
Any rough edges will be sanded smooth at a later stage.
If you are not familiar with how to use a trim router, check out this tutorial at Finewoodworking.com
Step 6: Layout and Drill Truck Holes
TIP: We suggest to layout and drill your truck holes before giving your board its final sanding. That way you can clean up any pencil guide lines or rough hole edges left after drilling your truck holes.
For this step we are using a product called the RockitRuler to mark our center line and layout the hole pattern.
The RockitRuler is a product designed by the Roarockit with feedback from builders who had miss-drilled or improperly aligned their truck holes over the years.


If you are unfamiliar with the RockitRuler, check out this video explaining how to use it:
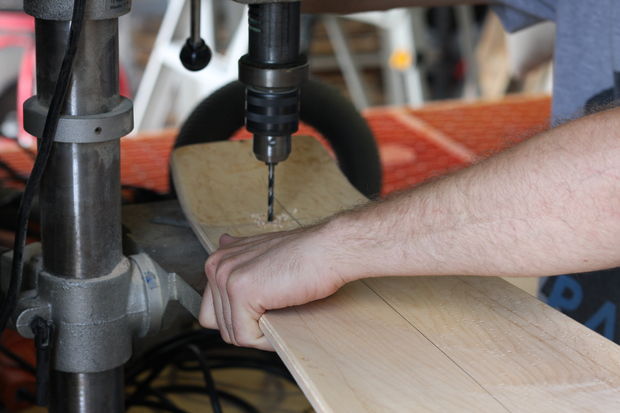

Once you are satisfied with the layout of your truck holes, you can use either a drill press or cordless drill to bore the holes.
A 3/16" drill bit will give you a nice tight fit for the standard truck hardware.
You can also go up to a 13/64" drill bit if you find it too tight of a fit.
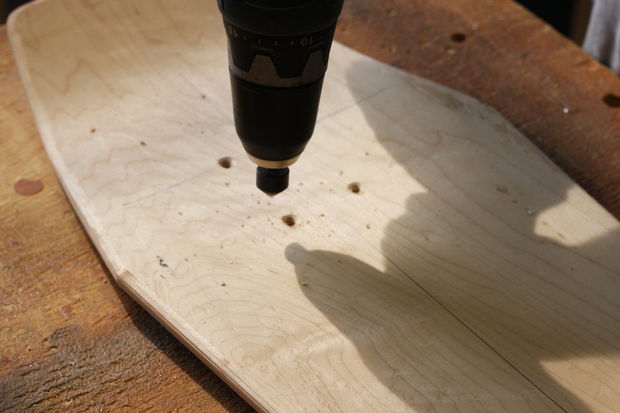

We also suggest countersinking the truck holes on the top side of the board so that the bolt heads sit flush with your board. Many boards don't do this step, but we think it's a nice touch :)
Step 7: Sand the Board Smooth
Now comes the fun part...Sanding!

We are using an orbital sander to finish the edges, top and bottom of our skateboard. There are many different types of handheld sanding tools, and deciding which one to use often comes down to personal preference and/or availability. There's also the good ol' fashioned hand sanding if you prefer.

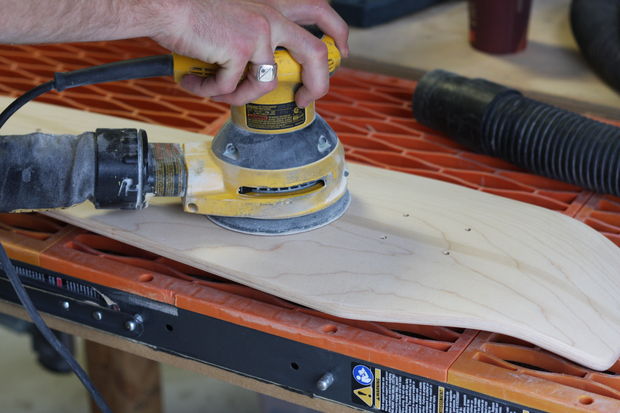
Start with a lower grit sheet (100/120) and work your way up to a finer grit (150/180) to get that baby smooth finish.
When you are done sanding the deck, you can start to think about graphics and sealing your board to make it last a long, long time.
IMPORTANT
As soon as you have completed all the sanding, apply your overall clear coat immediately! Do not wait until the next day, as the veneer layers are still drying out from the glue process. If you wait, you will find that your edges will not be as smooth as when you left them, due to the expansion and contraction of each layer. You may also find thin stress-type cracks will appear especially around the truck holes if you do not coat the deck immediately.
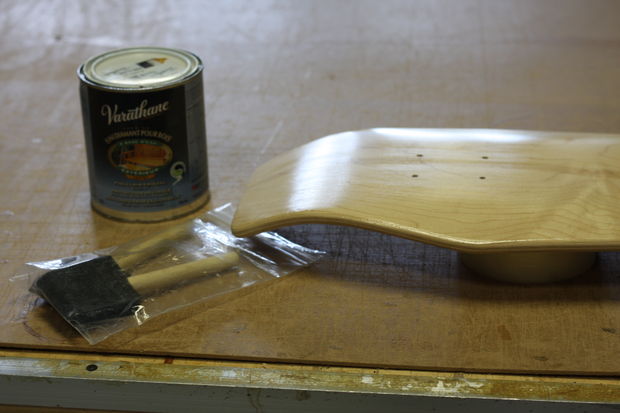
Step 8: Finishing the Board


When you are looking for a protective finish to put on your board, the big thing you want to make sure is that the finish is meant for outdoor use.
There are many options in both the spray-on and brush-on variety. Check online or with your local paint store if you are unsure of a specific brands properties.
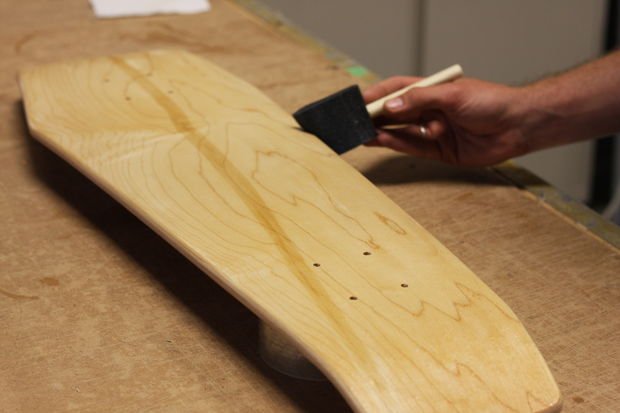
For this board we are using a brush-on, water based glossy finish by Varathane. It is readily available in most hardware and building supply stores. We find that it is one of the more forgiving and effective finishes on the market. It is also great because you can store your brushes in a resealable plastic bag and they won't dry out for a long time, allowing you to get multiple uses out of each brush.
No matter what protective coating you use, you are going to want to put multiple layers of finish on the board to adequately protect it from the elements. To get a really smooth finish, you can sand in between coats with a fine grit (320+) sandpaper once it is dry.
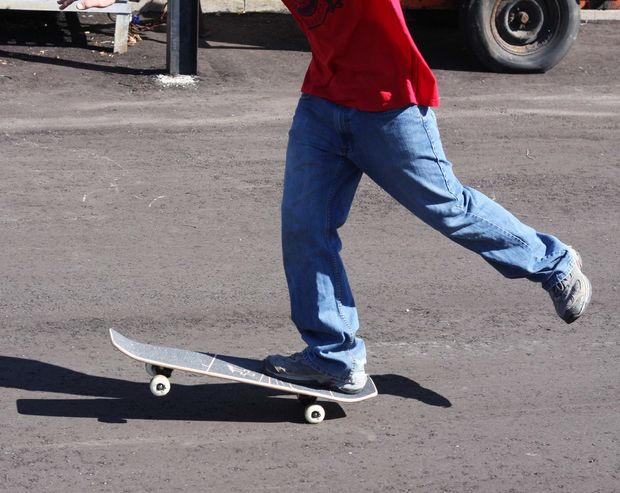
Step 9: Ride the Board!
There you have it - a professional quality skateboard deck, ready to grip and rip!
The great thing about building a deck using a one-sided foam mold in a Thin Air Press vacuum bag is that you can easily tweak your shape and try it again.
Say you try your board, or get feedback from a rider that the kick tail isn't steep enough to do a certain trick. You can simply shave off a bit more foam from your mold and press the deck again.


Even if you have to reshape the entire foam mold, it is much easier than remaking the two-sided concrete mold that is generally used in costly hydraulic presses.
This makes the Thin Air Press vacuum bag process ideal for prototyping new deck shapes and styles.

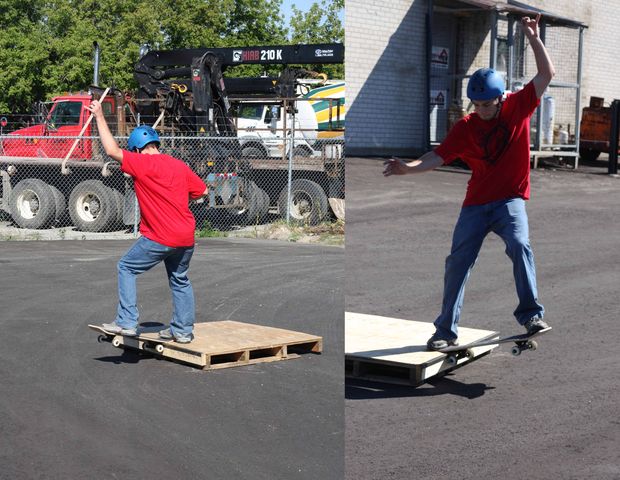
Rider: Matt Richardson
Board: Pinebox Shuvla by Champstiles
Good times!