If you are not familiar, Drop Through Trucks will allow your baseplate to be mounted to the top side of your board, which brings the standing platform on your deck closer to the ground. Similar to a Drop Deck, being closer to the ground will help provide stability and make it easier to push.

Tools Needed:
Router
Top Bearing Flush Trim Bit
Drill
Wood Screw (smaller than 3/16" shaft) with appropriate driver bit
3/16" Drill Bit
Jigsaw
3/4" - 1" Spade Bit
Ruler (to find center line)
Pencil
File/Rasp (optional)
Materials Needed:
Drop Through Router Template (or paper template)
While we documented the process using a router template, we will include instructions on how to do it without a router as well. These instructions will be in italics throughout the tutorial.
Step 1: Layout and Rough Cut
For the first step, you want to align and secure your router template to the top side of the deck. It is important on a drop deck to mount the template on the top side, so the bend on the drop will not interfere with the baseplate of your router when you start cutting the final shape.
We fastened the template into place using wood screws where the truck holes will eventually be drilled. You will notice that the template has a marking to help align it to the center line on the deck.
Once the template is in place, you can trace the inside cutout with a pencil so you know what material to cut out with the jigsaw.

If you are using a paper template, simply stick it in place and trace the cutout shape onto your deck. Most of them have a cente line marked on them as well.
Start by cutting two large clearance holes that will be used to place your jigsaw blade into.
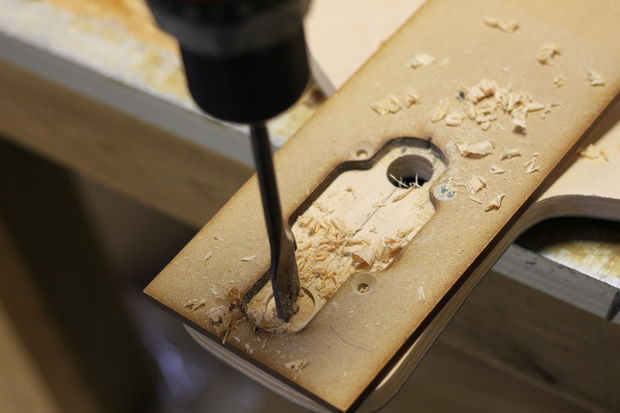
Once you have those holes cut, you can use the jigsaw to remove the majority of the material within your final cutout. You want to cut fairly close to the line so that the router has less material to remove. This is especially important if you are using the smaller handheld routers that generate less power and are harder to stabilize.

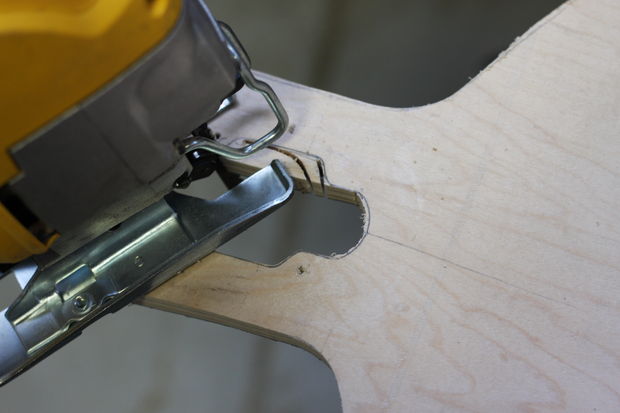
If you are not using a router to cut your final shape, you will have to use a file/rasp in the next step to finish your cutout.
In this case, the closer you get to the line with the jigsaw the less work you will have to do by hand afterwards.

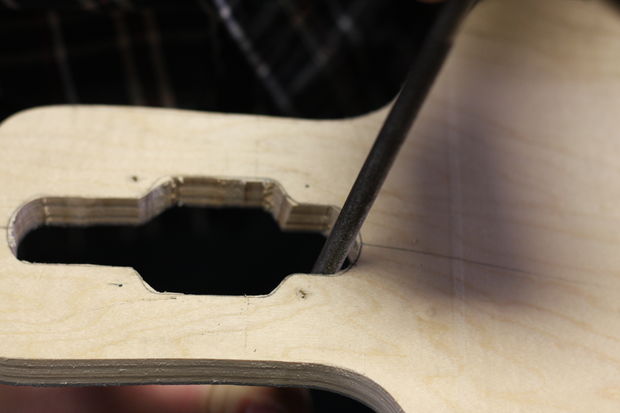
Step 2: Router/File Clean
With the majority of the material removed from your drop through cutouts, you can now use the router to clean up the final shape within your template. Make sure the template is securely in place on the deck before starting.


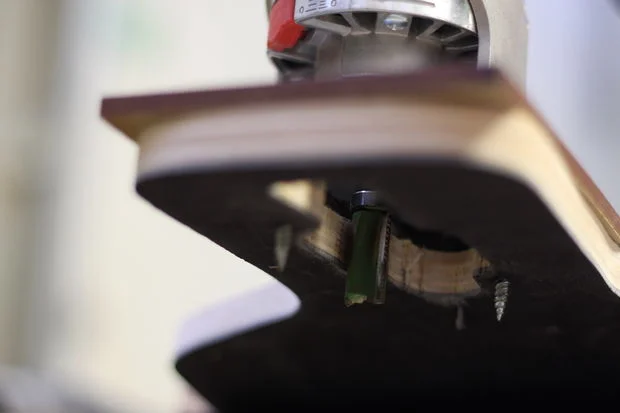
Set the height of your flush trim bit so that the bearing runs along your template and the bit itself is deep enough to cut through all of your veneer layers. If your bit is not long enough to go through all layers at once, you will have to remove the material in stages.
Secure the deck to a stable work surface before starting to router - this will be one less thing to concentrate on once you start.


When everything is in place, you can start to run the router bit along the inside edges of the template to remove the final cutout material. Using a router effectively requires a combination of experience, concentration and a steady hand. If you are uncomfortable doing this procedure, it is a good idea to wait until you have more experience, or get someone to help.
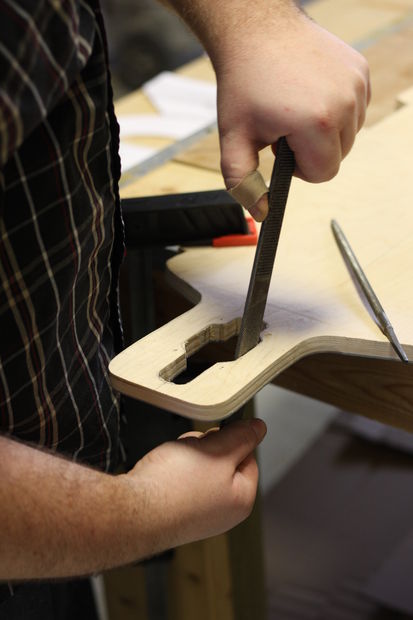
You can also use wood files and/or rasps to remove the final excess material from your cutout.
Doing this will take a little extra time to get accurate and smooth, but can be just as effective in the end.

Step 3: Drill Truck Holes
Now that the final cutout shape has been defined, you can add the truck holes to your deck. Typically there is only one placement for your trucks within a drop through setup.

There is some debate as to the best sized clearance hole to drill for your trucks. A 3/16" bit is the standard used to drill the truck holes, but some builders prefer going up a fraction of a size to help increase the diameter. They feel as though this gives a little more room for error and lets the bolt slide through easier.

Step 4: Install Trucks

With the cutout complete, you can go ahead and mount your drop through trucks. If you look around, you will notice that there are different shapes and sizes for drop through cutouts, but they all essentially achieve the same thing.
There are also lots of tutorials for mounting your trucks online - including this great video below: